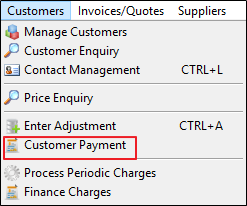
Customer Payments can be made by selecting Customer Payments from the Customer drop down Menu
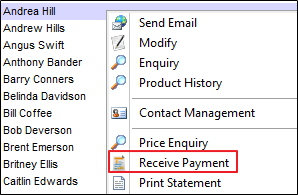
Or by right clicking on the Customer Account and selecting Receive Payment
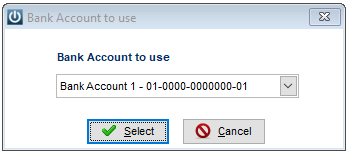
If more than one bank account is available, then select the correct Account to be used from the drop down arrow.
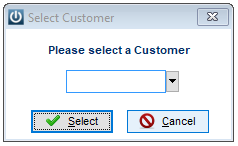
Select the Customer at the Prompt, either using the Account Number or selecting from the drop down arrow.
In the Payment Screen
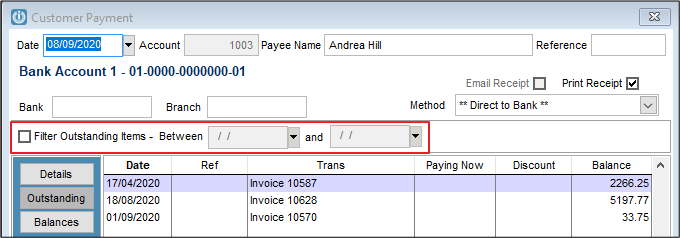
Once the Customer Payment screen appears,
- ensure the date is changed if necessary.
- check the account and Payee Name are correct.
- email receipt will default from the Customers' Email Links settings and will be greyed out if no email is recorded or can be ticked if the email address is there but the Email links have not been set up.
- print receipt is a Customer Default setting and can be unticked.
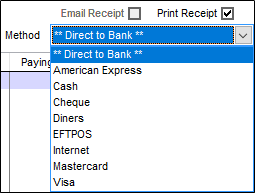
- select the correct payment method from the drop down menu
Entering the Payment amount
Amounts can be moved into the Paying Now Column by either double clicking in the empty Paying Now column or entering a figure.
Filter Outstanding Items Added to version 8.525
This option will allow the the filter of the date range.
Note the first Invoice is not included in the filtered range below.
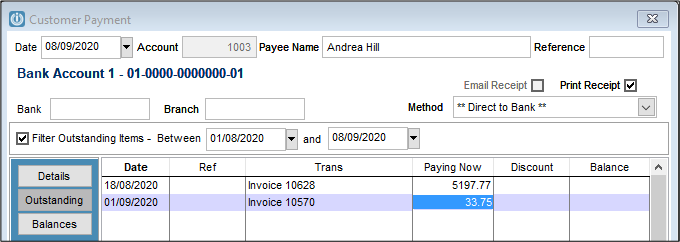
If the date range is selected, the Pay All and Auto Pay options will work within the range.
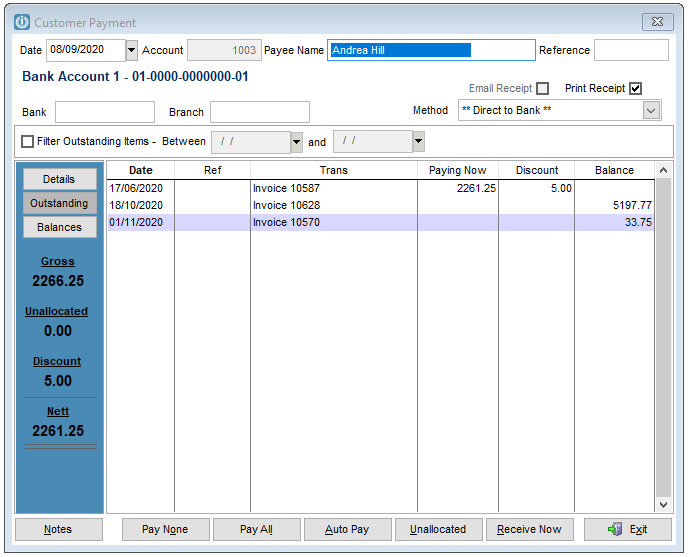
If a discount is being given to the Customer, this will show as a dollar figure to the Customer Discounts setting in the Manage System Defaults.
Pay None will remove all figures from the Paying Now column.
Pay All will pay the total amount due.
Auto Pay will bring up a window for an amount to be entered, the system will then allocate this amount, starting at the oldest invoice, until the amount is used up. Leaving if necessary a part paid invoice or an Unallocated payment.
Unallocated Payments are used when there is not an Invoice for the Payment to be allocated against. See the Unallocated Payments article for more information on how this works.
Receive now will record the receipt of money against the Customers account.
Along the left hand side is a running total of the amount being received, it is broken down to Gross, Unallocated, Discount and Nett.
The Gross figure is the amount being reduced from the account and the Nett is the dollar amount being receipted.
If required an additional prompt to confirm the Payment Method can be activated under Admin / Defaults / Manage Customer Defaults.

See How Do I Refund a Payment to a Customer for details on the Prompt for Refund Method.
If "Confirm Payment Method when receiving payment" is activated users will receive an additional prompt when selecting the Receive Now button.
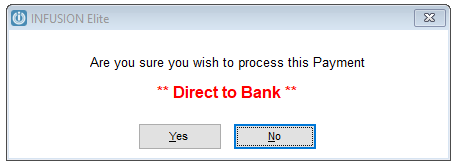
Yes will record the payment, No will allow the correct payment method to be selected.
Recording
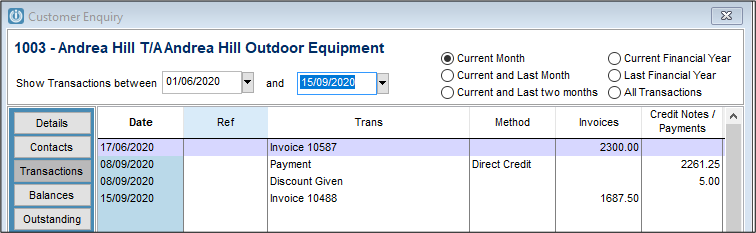
On the Customer Account, the above payment is recorded as two entries, Payment and Discount Given.
- The Payment is shown and this will carry through to the selected method for the next step in processing.
- The Discount Given will be coded to the General Ledger Code for Customer Discounts.
Comments
0 comments
Please sign in to leave a comment.