Sending Statements to Customers IS highly recommended to let them know in a Summarised form what they owe your Company. It is best practice to send Statements as soon as possible following the end of the month.
Preparation
Prior to sending out the Statements, it is recommended that checks are made first.
These are:
- Record Payments received into the bank accounts
- Under Admin / System Reports run the Check for Partially Posted Invoices for the month. If any appear here, contact Support or your Partner. NB not all invoices on here require repair but please check.
- Run the Customers / Reports / Customers Unallocated Payments report and match any Credits and Payments with the unpaid Invoices.
- Run the Pending Invoices report to the end of the current month. Have all invoices been posted that should be?
- Run the Duplicated Customers report and fix accounts where required.
- Update the Statement Message if necessary
- Run the Customers Aged Trial Balance report
- Run the Customer Transactions by Type report
Some Customers do not require a Statement, see No Statement Required for how to set this up.
The Customer Accounts should now be ready to Print.
Creating Statements
To print or email the Statements in bulk, go to Customers / Print Statements.
To process Statements for selected Customers, enter an Account range, Sort Key range, Group range and Customer Type.
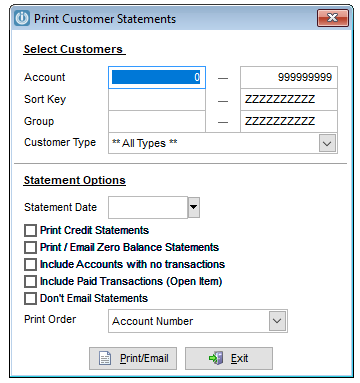
Enter the Date the Statements are to be for and select the tick boxes of the appropriate criteria of the statements to be generated. Note: If Statements are being emailed, they will not be printed as well.
Choose the order in which the Statements will be printed.
Options are:
Account Number - Numeric
Sort Key - If a automatic Sort Key is used this will be based on the Surname
Name - This will print based on the Christian Name or Organisation
For Statements to be emailed to Customers, they need to have email addresses set up for this under the Customer / Email Links tab. See Setting up Email for Customers Those Statements that do now have the Customer Links set up will be printed.
The Statement Layout is selected under Admin / Layouts / Manage Statement Layout.
By selecting Print/Email, the Emails are generated and sent to the Email Queue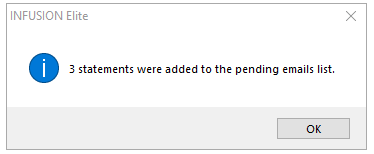
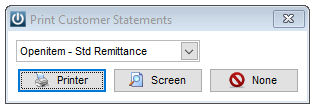
Statements to be printed are created and a prompt waits for a response
One off Statements
From the Manage Customer Screen, right click on the Customers Name to see the Print Statement option.
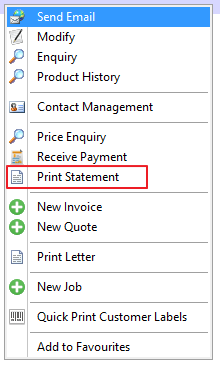
This can also be accessed by selecting Customer Enquiry. At the prompt, enter the date.
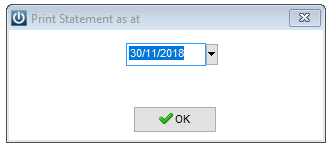
The next window also allows the change of Statement layout
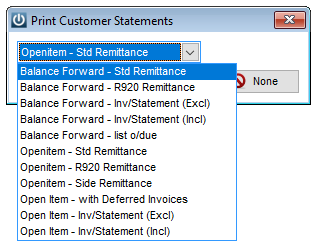
To select another layout, choose from the drop down menu.
Comments
0 comments
Please sign in to leave a comment.