From version 8.450 there is a new job type available in Infusion called Insurance Job which allows the transaction to start as Quote to the Insurance Company, on to the Job Invoice to the end up on the Customer Account.
To use this job type, some initial settings and defaults must be in place. If the prerequisites do not exist yet, please create them following the four steps below:
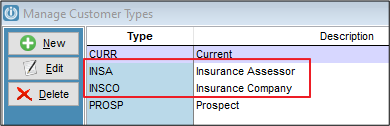
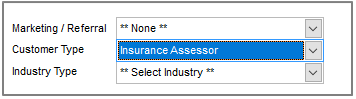
Insurance Customer Types
Under Admin / Settings / Customers / Manage Customer Types, create two customer types:
Insurance Company
Insurance Assessor
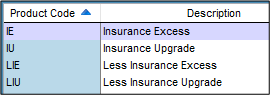
Insurance Product Codes
Create four Product codes to use for Insurance Excess:
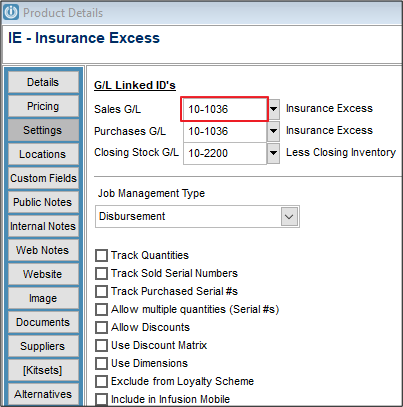
These products should not track quantities
The cost and sale prices should remain as zero
The Job Management Type should be Disbursement
Allow Discounts and Use Discount Matrix should be unticked
Although not necessary, we recommend at least one GL code is setup to track the movements of these products for auditing purposes.
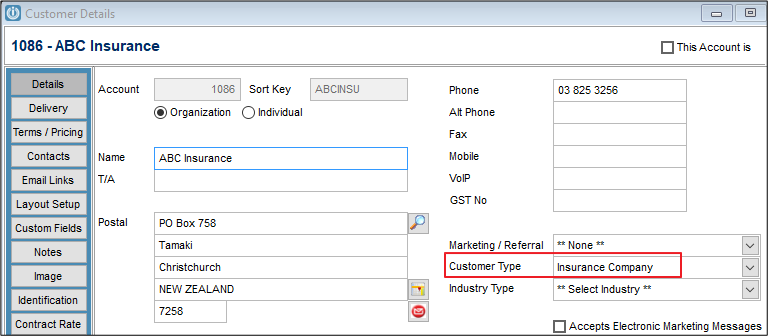
Insurance Customer Accounts
To use this process, you must have a Customer Account created for the Insurance Company involved. Please ensure the Insurance Company's Customer Account has the Insurance Company Customer Type assigned to it.
If an Insurance Assessor is to be involved in the process, then an account for them is also needed, with the corresponding selection in the Customer Type.
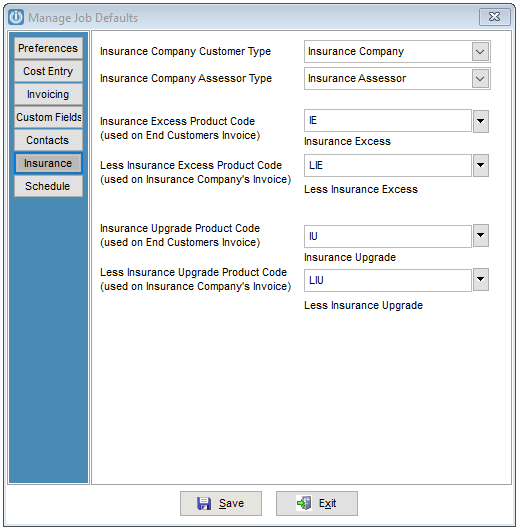
Insurance Job Defaults
Under Admin / Defaults / Manage Job Defaults, enter the required information:
How to use the Insurance Job feature
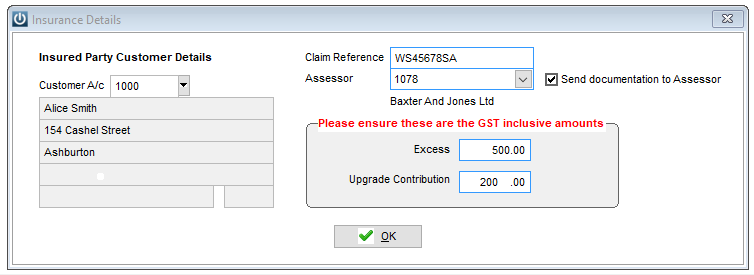
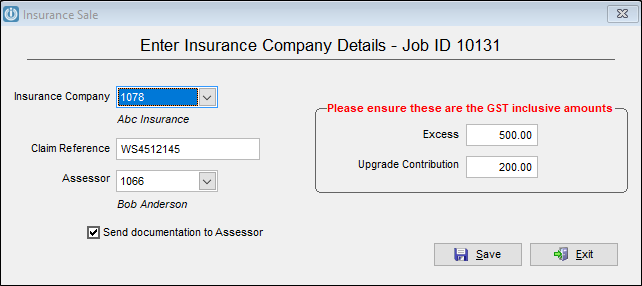
- Create a quote to the Insurance Company account. The software will recognize the Customer type and as the Quote screen opens, a pop up will appear for the information about the claim to be entered:
- The account number of the customer the claim belongs to
- A Claim Reference may be entered if required by the Insurance Company
- If an Assessor is involved in the claim, it can be selected in the Assessor field (only customer accounts assigned to the customer type Insurance Assessor will be available for selection)
- If the Assessor Customer account has an email address, ticking the box to send documentation to Assessor will email them the quote and invoices later.
- The Insurance Excess amount, this is inclusive of GST
- If the claims involves an upgrade payable by the end Customer, the Upgrade Contribution amount (Inclusive of GST) can be entered.
Finally, enter the line item/s on the quote as usual.

Once the quote is accepted by the Insurance Company, open the Quote and transform it into a Job
The Job screen
The job is created to the End Customer account, not the Insurance Company.
The job type is set to Insurance Job automatically.
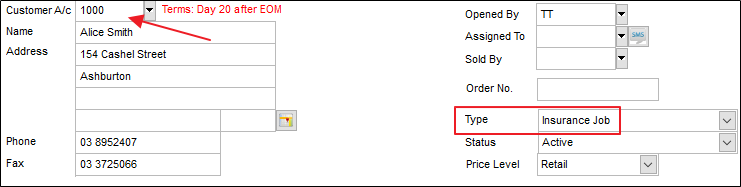
The green button next to the job type shows the details of the claim, which automatically includes the Insurance Company account and all other details previously entered on the quote, these can be amended if necessary.
Selecting the Assign Quoted button from the bottom of the screen will bring up the list of products on the Quote. By selecting Sell All, these products will be moved into the Job.

Any other products can be entered as usual.
Deposits Paid
If the Customer paid a deposit, this can be recorded against the job, and it will be correctly assigned to the Customer's Invoice, not against the Insurance Company.
Invoicing the Completed Job
When the job is ready to be invoiced now using either Actuals or Quoted. The first time you do this it is recommended that you preview the Invoice.
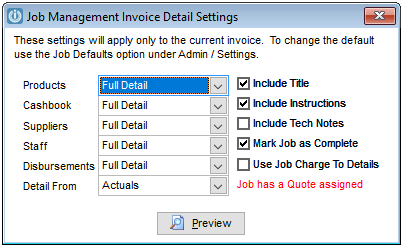
Clicking Invoice Now on the job will create two invoices:
The first invoice is made to the Insurance Company, where the Item of the claim will be charged, minus any insurance excess and insurance upgrade payable by End Customer, if applicable.

The second invoice is made to the End Customer, where the item of the claim is listed at zero rate and where lines for Insurance Excess and the Insurance Upgrade, if applicable, will be charged.

Posting the invoices to the customer accounts.
The two invoices automatically generated by the job are left as pending invoices only, so they need to be posted from the Manage Invoices screen in order to be committed to the corresponding accounts.
Comments
0 comments
Please sign in to leave a comment.