Admin Setup
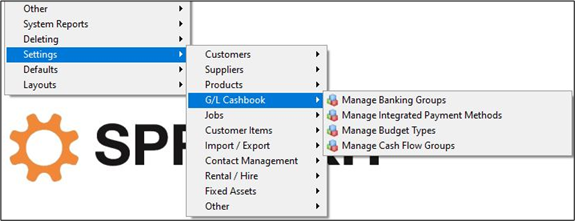
Your store ID and API key are stored under Manage Integrated Payment Methods menu located in
Admin / Settings / G/L Cashbook / Manage Integrated Payment Methods.
Select Activate Zip Integration and it will show the correct fields. Setup different API details for each location or each POS terminal if required. If you select separate ZIP account per terminal the entry boxes will disappear, (you will enter these details in POS Defaults) save the selection and continue.
Note - You must have a API user name. Check the Settings > Integration Details section of your Merchant login with Zip.
On the email from Zip, the Client ID is know as API Username and the Client Secret is the API Password.
Using a Web Store API key will not work within Infusion / Sprockit.
Separate Zip Accounts per Location
Activating this flag will product a drop down menu to select the relevant location.
Enter the individual API Username and Password as requested.
In the POS Defaults, select Enabled - Default Settings.
POS Defaults
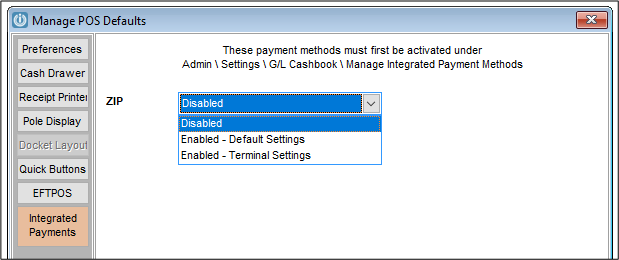
After entering the API details, open POS defaults to see the new Integrated Payments tab.
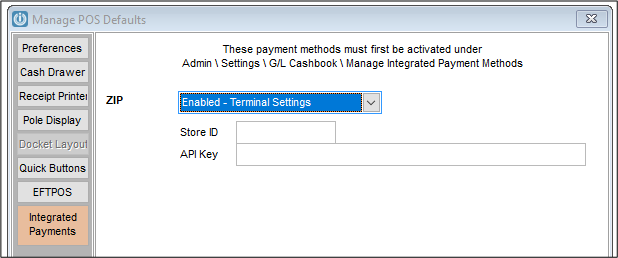
Select the new tab and change the dropdown box to select: Enabled – Default Settings, or Enabled – Terminal Settings depending on the integrated payment methods setup.
If selecting Enabled - Terminal Settings, boxes will appear for the Store ID and API Key, this will have to be done on each POS terminal.
Processing a Sale
Zip payment method appears in the Process Sale (F7) screen, or you can set Zip as a quick button in the POS defaults.
Note
The payment can only be applied to an entire invoice and the invoice must be paid at the time of posting. It cannot be used to pay an Account or job deposit. The Zip payment amount is limited to the value of the transaction (no cash out). The Zip payment method cannot be used with Multi Payment methods.

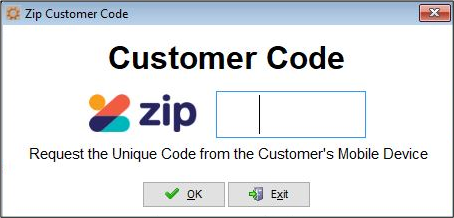
After selecting Zip as the payment method, a prompt will appear asking for the customer code. This is a 6 digit number the customer will have after they click shop in store on their mobile device.
Enter number or scan the barcode from the device.
The customer will now get a prompt to confirm the sale on the mobile device.
Once the sale is confirmed from the Customer, the system will advise the sale has been approved and the invoice will now print and the sale is completed.
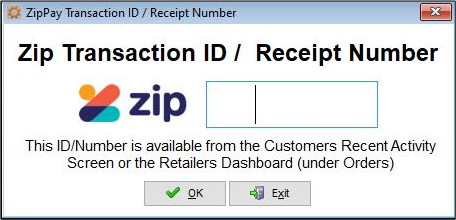
Refunding a Sale
To refund a sale, prepare the credit note as normal either through the POS module or the Invoice screen and select Zip as the payment method.
A window will pop up asking for the transaction ID or receipt number. This is not a unique code from the customers device. You can find this number printed on the invoice, the merchant dashboard or the customer can find it in their purchase history.
Once the refund has been approved, the Customers balanced will be updated and the funds will be available to use again instantly.
Note: A customer refund can only be processed once for each Zip order. If an invoice is partially refunded through Zip, the remaining balance of the invoice will not be able to be refunded through Zip.
Comments
0 comments
Please sign in to leave a comment.