
Brother QL-500
Printer Settings
Start Menu / Devices and Printers
Right click on the label printer, set as default printer (green arrow not on Icon) 
Right click on the Brother Printer and select Printer Preferences, check settings are set to the following

Click Apply then Ok
Infusion Settings
Copy the Barcode Label Layout to the Custom Folder (Right Click on the Infusion Icon to Open File Location or Properties to find the Infusion folder and locate the Custom Folder) rename to BARCODES.LBX
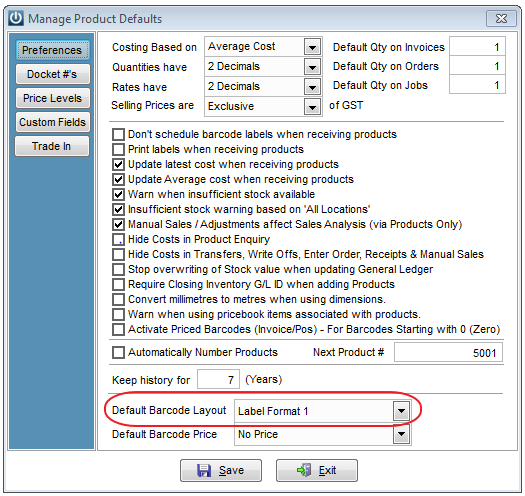
Go to Admin / Defaults / Manage Product Defaults
Set the Default Barcode Layout to Layout to Label Format 1
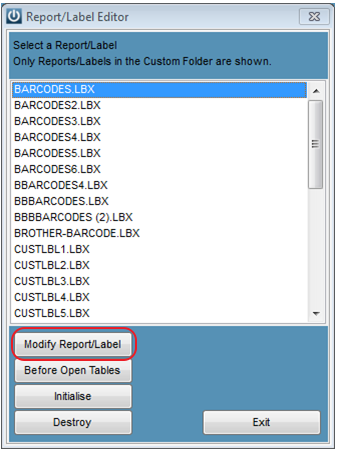
Save and go to Help / Report Label Editor.
Click on the default barcode then Select the Modify Report/Label tab
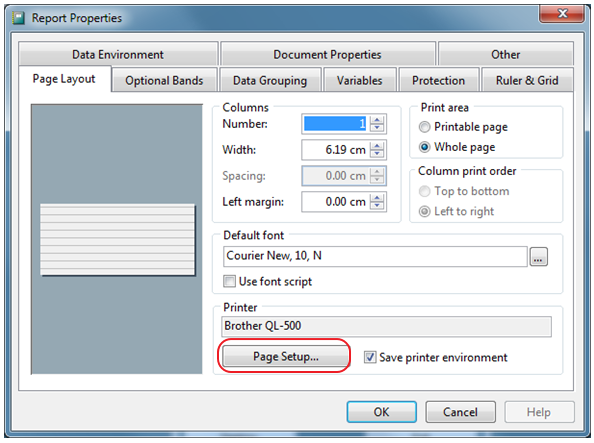
Go to File / Page Setup
Check the printer is the Default printer eg Brother QL-500
Ensure Width matches Product Label Settings, or near to
Check Print area is set to Whole Page
Select on the Page Setup Tab, check Size / Name of label is the same and orientation of set to Portrait.
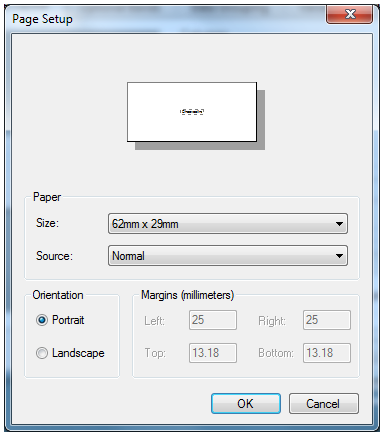
Click Ok
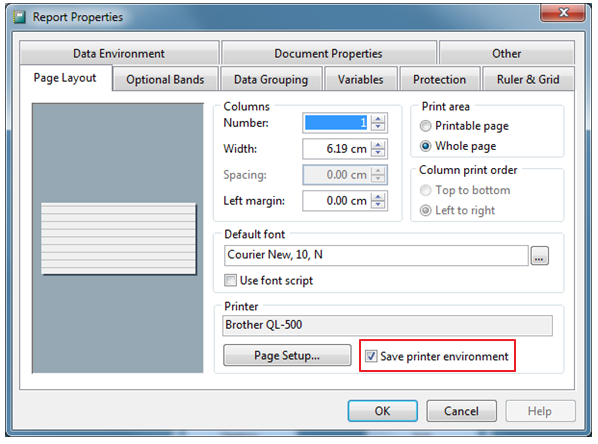
Tick the Save printer environment then Select Okay.
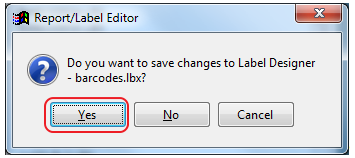
Select Yes
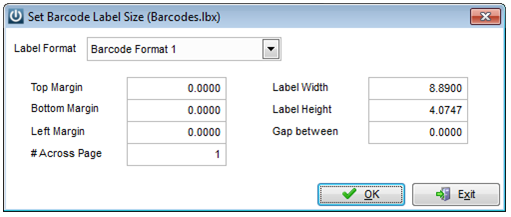
Final step is Admin / Settings / Products / Manage Product Labels
Select the default barcode format, check the sizes match the label settings.
Open your Devices and Printers and change your default printer back to the required printer.
Comments
0 comments
Please sign in to leave a comment.