Note: The screen shots are representative and may differ between models.
 ZDesigner GK420T Zebra please use this Recommended Driver
Printer Settings
Search for Devices and Printers.
Click on the label printer, chose Manage and set as default 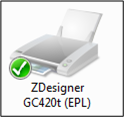
Right Click on the ZDesigner Printer and select Printer Preferences, check settings are set to the following. (If Stocks is not showing, check Preferences)
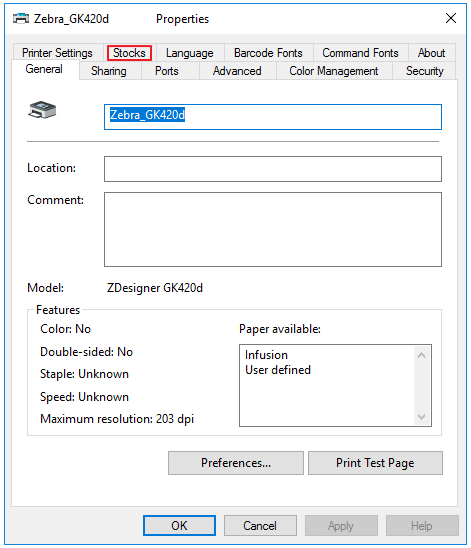
Select the Preferences button and enter in the default size of the label. (There can be as many as necessary)

When all details are entered click okay.
The Paper Available will change to Custom
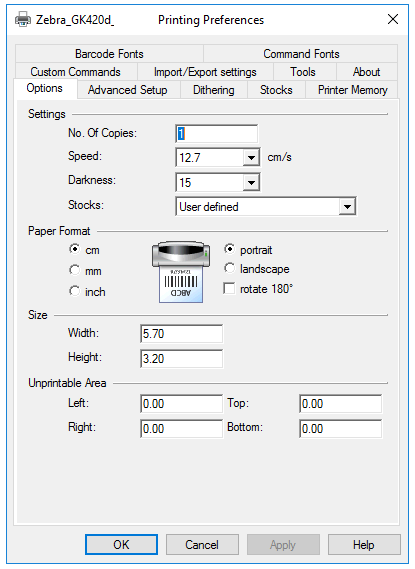
Select Apply then Okay.
Infusion Settings
Copy the Barcode Label Layout to the Custom Folder (Right Click on the Infusion Icon to Open File Location or Properties to find the Infusion folder and locate the Custom Folder) rename to BARCODES.LBX
Go to is Admin / Settings / Products / Manage Product Labels
Select the default barcode format, check the sizes match the label settings.
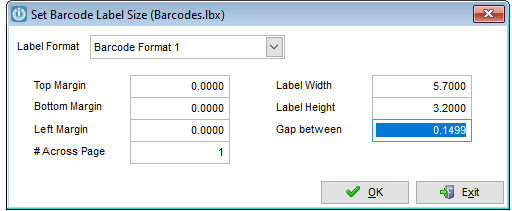
Go to Admin / Defaults / Manage Product Defaults
Set the Default Barcode Layout to Layout to Label Format 1
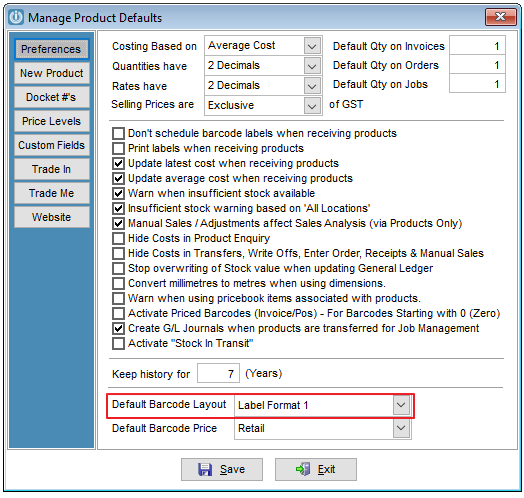
Save and go to Help / Report Label Editor.
Click on the default barcode then Select the Modify Report/Label tab
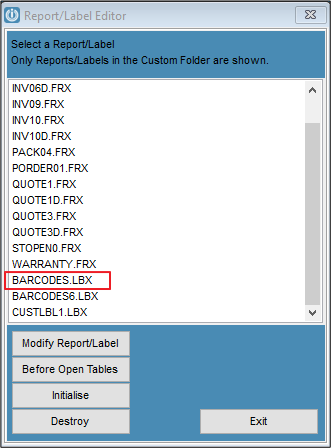
Go to File / Page Setup
Check the printer is the Default printer eg ZDesigner GK420
Ensure Width matches Product Label Settings, or near to
Check Print area is set to Whole Page
Select on the Page Setup Tab, check Size / Name of label is the same and orientation of set to Portrait.
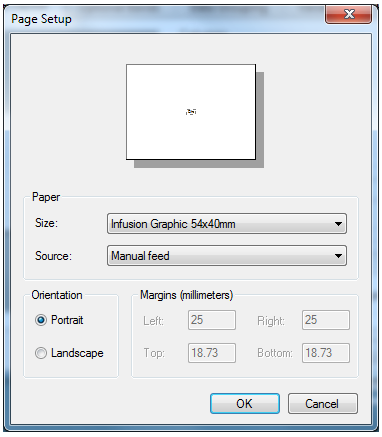
Click Ok
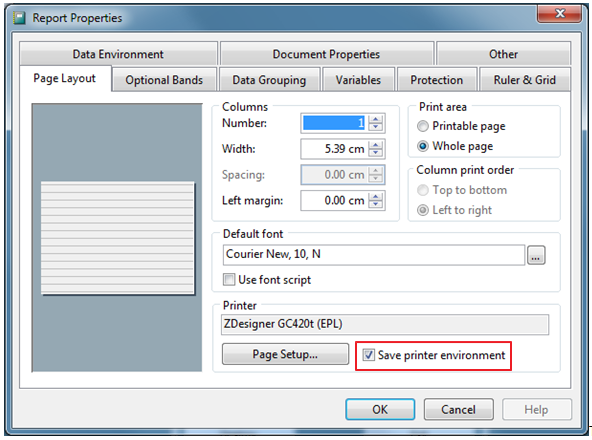
Tick the Save printer environment then Select Okay.
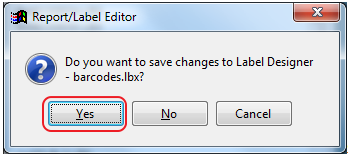
Select Yes
Open your Devices and Printers and change your default printer back to the required printer.
NB: If your labels do not print correctly on your label ie too high or to the bottom or left of the label but are perfect when you preview, you will have to Calibrate your printer. This is also the reason for blank labels after good ones.
To do this, go to your Printer Driver Preferences and under the Advanced Setup tap, make sure up have the correct media and select Calibrate.
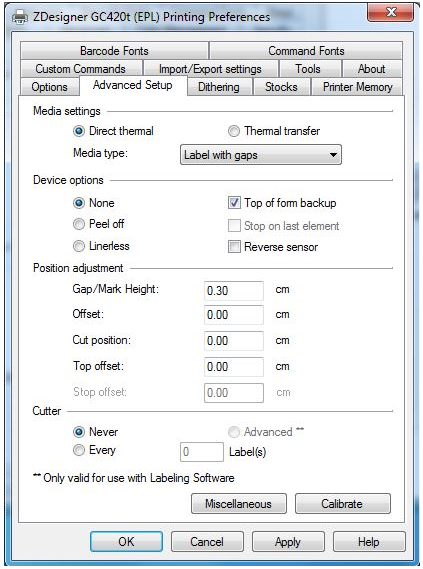
The only reason this may be requires is if more than one label is printed from the ZDesigner label Printer.
To Calibrate the Zebra GK420T model
With the printer power on and top cover closed, press and hold the Feed button for several seconds. The green status LED will flash a number of times in sequence.
After flashing Once then Twice let go of the button and it should calibrate for the label.
* ** Standard Auto Media Calibration - The printer detects and sets media type and media length, and it adjusts the media sensors for optimal performance with the installed media (equivalent ZPL command ~JC). The printer will feed one to four labels while calibrating. Note: Users familiar with the Zebra EPL desktop printer use this Feed mode to replace power-up AutoSensing calibration (equivalent EPL command XA).
Ribbon Information
Direct thermal (no ribbon required) printing uses chemically treated, heat sensitive media that blackens when it passes under the thermal printhead, while thermal transfer (ribbon required) printing uses a heated ribbon to produce durable, long-lasting images on a wide variety of materials.
The shelf life of Thermal Direct is 4-6months where the thermal transfer using a wax ribbon is permanent.
Both options are available with the Zebra GK420t printer.
Comments
0 comments
Please sign in to leave a comment.